
Preserving Apples: A Guide to Homemade Apple Cider Vinegar
Why Preserve Apples?
If you find yourself with a bounty of fresh apples from your orchard or local farmers' market, preserving them is a way to enjoy their goodness year-round. But why stop at just eating them fresh? By making apple cider vinegar, you’re utilizing every part of the fruit and reducing waste. It's a creative solution to avoid apple clutter in your kitchen while providing a versatile ingredient for cooking, cleaning, and even health remedies. Tastier than store-bought, the customization options are endless; you control the sweetness and acidity, making it a pantry staple.
The Benefits of Homemade Apple Cider Vinegar
Homemade apple cider vinegar packs a myriad of health benefits that far surpass those of commercial varieties. Rich in probiotics, it supports gut health and aids digestion. Its acetic acid content can help regulate blood sugar levels and promote weight loss, making it a fantastic addition to your daily routine. Plus, it’s an excellent cleaning agent and can even brighten your hair when used as a rinse. The best part? You create this tangy delight using simple, natural ingredients, which not only adds flavor to your dishes but also allows you to embrace a zero-waste lifestyle. Interested in learning more about the health benefits of apple cider vinegar? Check out this insightful Healthline article for deeper insights!
When you start your journey to preserving apples through homemade apple cider vinegar, you're not just making a product. You're fostering a delightful habit of creativity and sustainability in your kitchen!
Ingredients for Homemade Apple Cider Vinegar
When you cook up your own homemade apple cider vinegar, it’s all about quality ingredients! Here’s what you’ll need:
Essential ingredients for your vinegar
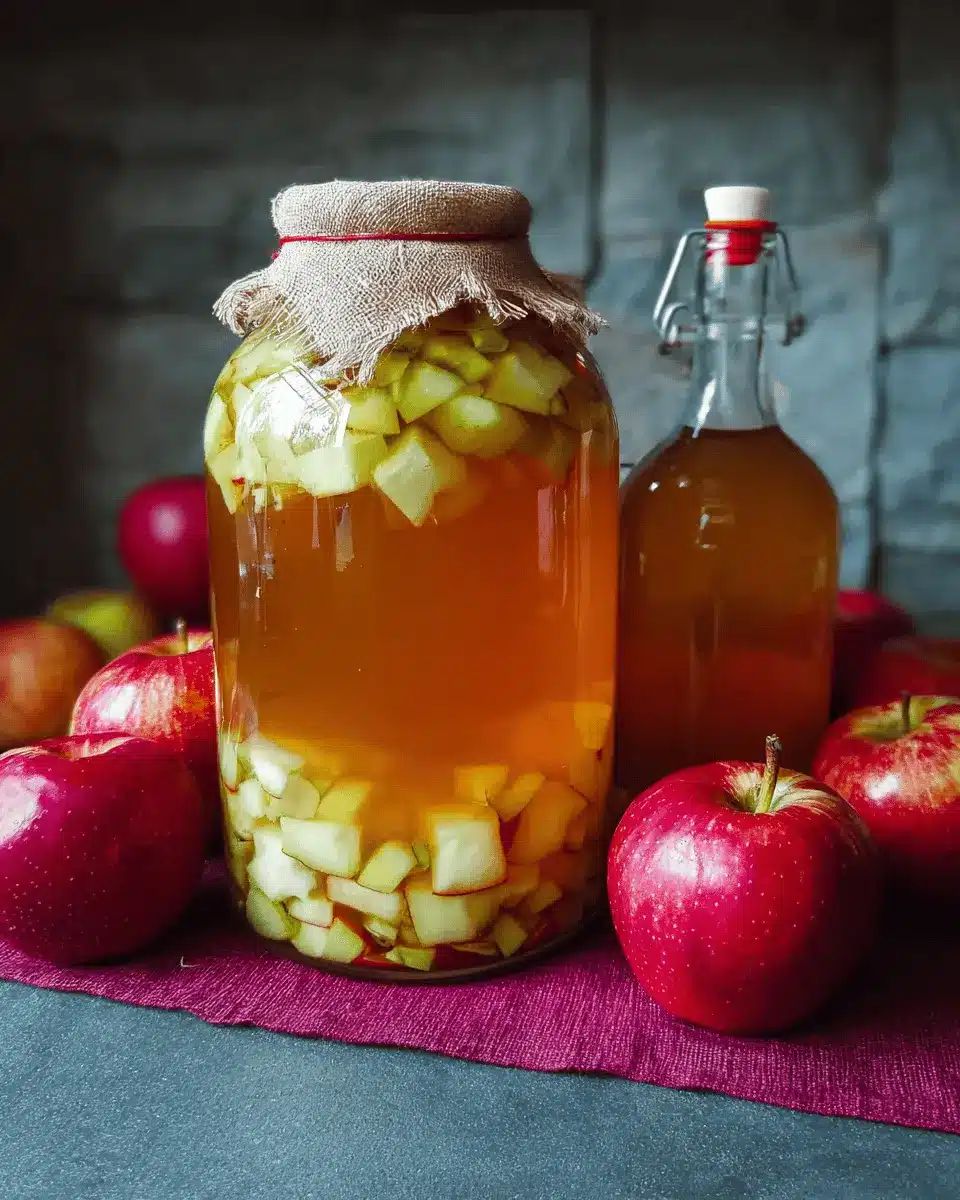
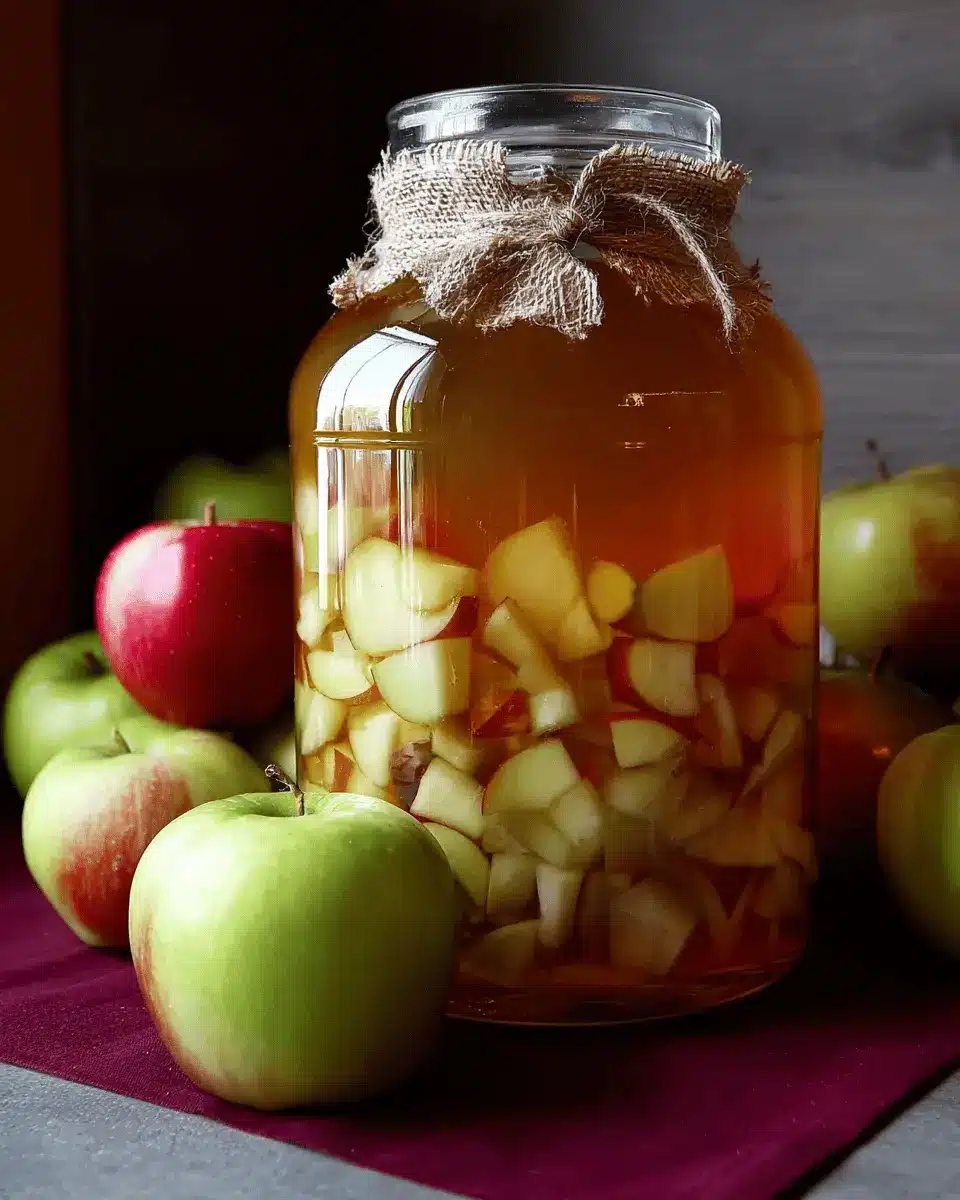
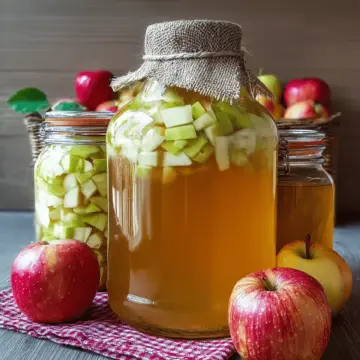
- Diced apple chunks or apple scraps: Aim for enough to fill half of your chosen fermenting vessel, whether it’s a quart jar or a gallon crock. Using scraps like skins and cores is a great way of preserving apples while minimizing waste!
- Sugar: You’ll need 1 tablespoon of sugar for every cup of filtered water, or 1 cup of sugar for each gallon of water. This helps kickstart the fermentation process.
Optional ingredients for enhanced flavor
- Splash of organic apple cider vinegar: Adding a bit of store-bought vinegar can help kickstart fermentation with beneficial bacteria.
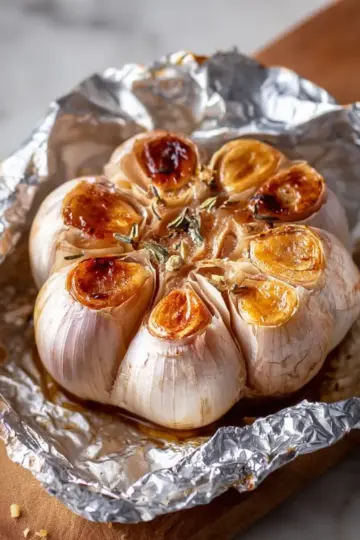
- Spices or herbs: Consider adding cinnamon, ginger, or even rosemary to give your vinegar a unique twist.
Looking for more ways to use those apples? Check out tips from The Spruce Eats on creative apple preservation methods!
Step-by-step Preparation for Apple Cider Vinegar
Making your own apple cider vinegar can be a delightful project, especially if you're looking into preserving apples or minimizing waste. Let’s break down the process step-by-step to ensure that your homemade vinegar turns out as tasty as it is rewarding.
Gather your apples and supplies
Before diving into the fun part, it’s crucial to gather your ingredients and supplies. You’ll need:
- Apples: You can use whole apples, or great options include scraps like cores and skins.
- Glass jar: A quart or gallon jar depending on how much vinegar you want to make.
- Filtered water: To ensure a clean fermentation process.
- Sugar: Essential for the fermentation process.
- Breathable cover: A cloth or coffee filter to keep out debris while allowing airflow.
Discover more about different types of apples and their flavors here.
Prepare the apples for fermentation
Once everything is gathered, it’s time to prepare your apples. If you’re using whole apples:
- Wash and chop: Cut the apples into chunks, making it easier for the fermentation process to occur.
- If you're using scraps, feel free to gather those and throw them into your jar. Fill the jar until it's about half full—this gives your apple cider vinegar space to breathe.
Mix the ingredients for fermentation
Next, let’s bring the magic together:
- Pour lukewarm filtered water over the apples until it’s almost full, but take note of how much water you use.
- Add sugar: Mix in about 1 tablespoon of sugar for every cup of water. It’s the sugar that kicks off fermentation, so it’s essential for developing that tangy flavor we love!
For added culture, consider adding a splash of store-bought organic apple cider vinegar to boost fermentation.
The fermentation process
After mixing everything together:
- Cover your jar with a breathable material, securing it with a rubber band.
- Store the jar in a dark location with a consistent temperature, preferably between 70-75°F. Stir the mixture daily for about two weeks to prevent any bacterial growth on the surface.
Feel like experimenting? Here’s an excellent resource on fermentation tips and tricks.
Straining and bottling your vinegar
After two weeks, the fun continues!
- Strain the mixture to separate the liquid from the apple scraps and pour the liquid back into a clean, covered jar.
- Set the jar aside in a dark, undisturbed spot to continue fermenting for up to two more months.
Taste your vinegar after a month. If it's to your liking, you’re ready to bottle! Transfer it into bottles with lids and voilà—your homemade apple cider vinegar is ready to shine in your kitchen. Store it at room temperature or in the refrigerator, and enjoy the health benefits that come with it!
This simple and satisfying process not only helps in preserving apples, but it also empowers you to create something uniquely yours. Happy fermenting!

Variations on Apple Cider Vinegar
Adding herbs and spices for flavor
Enhancing your homemade apple cider vinegar with herbs and spices can elevate its flavor profile beautifully. Consider adding cinnamon sticks, cloves, or even fresh rosemary to infuse your vinegar with warmth and depth. These natural additions not only taste great but also bring additional health benefits, thanks to their potent antioxidant properties. Try experimenting by steeping different combinations for a personalized touch that can brighten your dressings, marinades, or even beverages.
Using different types of apples
When preserving apples for vinegar, the type of apple you use significantly influences the final flavor. Sweet varieties like Fuji or Honeycrisp can yield a milder, sweeter vinegar, while tart apples such as Granny Smith provide a sharper tang. Mixing several kinds can create a more complex taste, so feel free to get adventurous. Just remember, the fresher the apples, the better your vinegar will turn out! For expert tips on which apple varieties work best, check out this guide on apple types.
Cooking Tips and Notes for Apple Cider Vinegar
Common mistakes to avoid
When preserving apples for your homemade vinegar, avoid using overly ripe or spoiled fruit. These can introduce unwanted flavors and hinder fermentation. Also, don’t skip the daily stirring—this helps prevent mold formation on the surface. If you're worried about contamination, use filtered water instead of tap water, which can contain chlorine and other additives.
Best storage practices
Once your apple cider vinegar is ready, store it in glass bottles with tight lids. Room temperature is ideal, but refrigeration is optional if you prefer a chilled option. Make sure to keep it in a dark place to preserve its flavor. With proper storage, your vinegar can last for over a year. Check out [The Vinegar Institute](https://www.v vinegarinstitute.org) for more insights on storage and vinegar benefits!
Serving Suggestions for Apple Cider Vinegar
Culinary Uses of Apple Cider Vinegar
When it comes to serving suggestions, apple cider vinegar is your versatile kitchen companion! Use it to whip up delightful salad dressings—just mix it with olive oil, mustard, and herbs for a tangy twist. It also makes an excellent marinade for chicken or turkey bacon, enhancing flavors while tenderizing the meat. Feeling adventurous? Try adding it to your favorite baked goods for a hint of acidity or using it in homemade barbecue sauce to elevate your dishes.
Health Benefits and Applications
Beyond its culinary qualities, apple cider vinegar boasts numerous health benefits. It may help regulate blood sugar levels, aid digestion, and promote weight loss. Mix a tablespoon with warm water and honey for a refreshing morning tonic, or incorporate it into smoothies for an extra nutrient boost. And don't forget: the probiotics in fermented apple cider vinegar can contribute positively to gut health. It’s a fantastic way to get creative while preserving apples, ensuring you make the most out of your homemade vinegar!
Time Breakdown for Homemade Apple Cider Vinegar
Preparation time
The initial prep for making your own homemade apple cider vinegar takes about 20 minutes. This includes washing, chopping, and preparing your apple scraps or chunks for fermentation.
Fermentation time
Once you’ve set everything up, let it ferment for an impressive 60 days. During this time, you'll want to check in regularly to stir and sample the developing flavors.
Total time
In total, you’re looking at approximately 60 days and 20 minutes to savor your very own apple cider vinegar. It’s a labor of love that pays off in delightful tanginess! Ready to dive deeper into the process of preserving apples? Let's get started!
Nutritional Facts for Apple Cider Vinegar
Calories
Apple cider vinegar is low in calories, with roughly 3 calories per tablespoon. This makes it a guilt-free addition to your meals and beverages, especially if you're aiming to keep your diet light while enhancing flavors.
Probiotics Content
Rich in beneficial bacteria, apple cider vinegar is known for its probiotic qualities. These probiotics support gut health and may aid digestion, making them a great ally for overall wellness, especially when you're preserving apples and enjoying homemade goodness.
Acidity Levels
The acidity of apple cider vinegar typically ranges from 4% to 8% acetic acid. This level not only contributes to its tangy taste but also plays a key role in its preservation properties, making it effective for food preservation and even as a natural cleaning agent.
For more detailed health insights, feel free to check out this article on the benefits of probiotics or explore apple cider vinegar uses for a comprehensive guide to its perks!
FAQs about Homemade Apple Cider Vinegar
How long does it take to make apple cider vinegar?
Making your own apple cider vinegar is a rewarding process, but it does require some patience. From start to finish, expect the fermentation to take about two to three months. After the initial two weeks of active fermentation, you can taste it to see if it meets your flavor preferences. If you’d like a tarter vinegar, leave it to ferment longer!
How should I store my apple cider vinegar?
Proper storage ensures your vinegar retains its delicious flavor and beneficial properties. Store your homemade apple cider vinegar in clean bottles with lids, keeping it in a cool, dark place like a pantry or cupboard. If you prefer, refrigeration works too, although it’s not necessary since vinegar has a long shelf life and can last over a year.
Can I reuse the apple scraps?
Absolutely! Reusing apple scraps is a great way to practice sustainability while preserving apples. After straining your vinegar, the spent apple scraps can be composted, used in smoothies, or even as part of an apple-infused drink. This not only reduces waste but also enriches the soil or adds extra flavor to other beverages!
Conclusion on Preserving Apples through Homemade Apple Cider Vinegar
In summary, preserving apples through homemade apple cider vinegar is not only a rewarding endeavor but also a sustainable choice. The health benefits and delicious flavor of your homemade vinegar will make it a staple in your kitchen. So gather those apples and start experimenting—your taste buds will thank you!
For more insights on utilizing every part of your produce, check out articles on zero-waste cooking and other sustainable practices.
Homemade Apple Cider Vinegar
Equipment
- fermenting vessel
Ingredients
- 1 gallon filtered water
- 1 cup sugar per 1 gallon of water
- Enough to fill half of fermenting vessel diced apple chunks or apple scraps including skins or cores
Instructions
- Wash and chop the apples into chunks, or gather collected apple scraps and add them to your jar until halfway full.
- Pour lukewarm filtered water over the apples into the container until it is almost full.
- Stir in sugar in ratios of 1 tablespoon of sugar per cup of water, or 1 cup of sugar per gallon for larger batches.
- Optional: Add a splash of finished organic apple cider vinegar to inoculate the culture.
- Stir combined ingredients until thoroughly mixed, and cover with breathable material.
- Store in a dark location around 70 to 75 degrees F for two weeks to ferment, stirring daily to prevent mold.
- After two weeks, strain the liquid into a similar sized container and cover again. Compost the spent fruit.
- Move the container to a location to continue long term fermentation.
- After one month, sample the vinegar to see if it is finished fermenting.
- Once it is fermented to your desired flavor, transfer into bottles with lids.
- Properly fermented apple cider vinegar should stay good for over a year.


Leave a Reply