
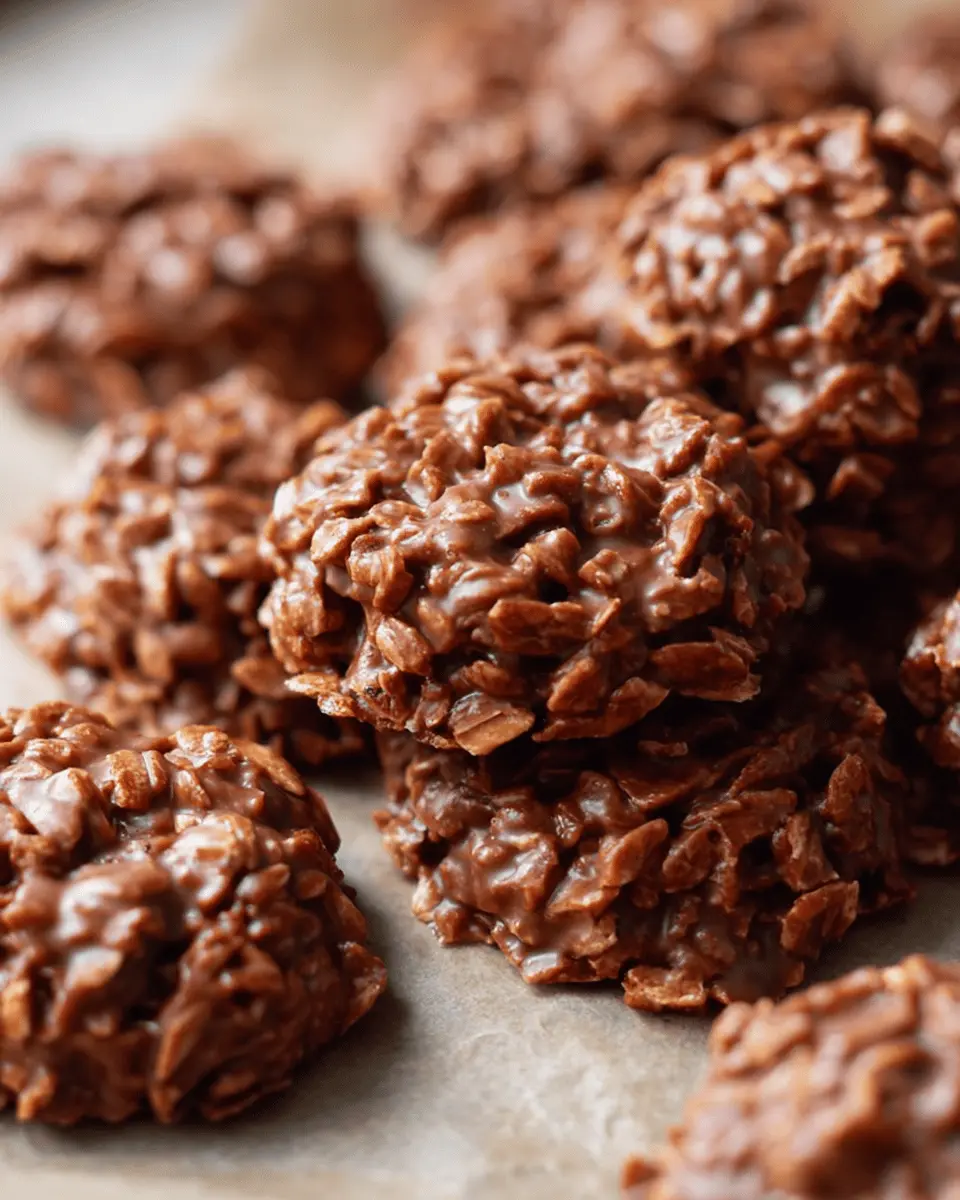
Introduction to Classic No-Bake Cookies
If you’re a young professional juggling a busy schedule, classic no-bake cookies are about to become your best friend in the kitchen. These delightful treats require minimal equipment and just a few simple ingredients, making them a quick and easy dessert option when you want something sweet but lack time. All you need are staples like peanut butter, oats, and cocoa powder, and you'll be rewarded with a chewy, chocolatey cookie that strikes the perfect balance between indulgence and simplicity.
No-bake cookies shine particularly when you’re short on time. According to a recent study, over 60% of young professionals struggle to find time for cooking, often opting for ready-made snacks instead. But cooking doesn't have to be time-consuming! With our classic no-bake cookie recipe, you can whip up a batch in just 45 minutes, including cooling time. Plus, they’re perfect for meal prepping—make a large batch and enjoy them throughout the week.
Whether you're treating yourself after a long day at work or need a quick dessert for a last-minute gathering, these cookies offer that bite of nostalgia from childhood while still fitting your modern lifestyle.
Discover how easy they are to make with our step-by-step instructions in this article!

Ingredients for Classic No-Bake Cookies
Essential Ingredients for Perfect Flavor
When whipping up your classic no-bake cookies, having the right ingredients is essential for achieving that mouthwatering flavor. This simple dessert calls for:
- Butter: ½ cup, sliced into pieces, adds richness and helps bind the ingredients.
- Granulated sugar: 2 cups creates that perfect sweetness.
- Milk: ½ cup is crucial for moisture and texture.
- Cocoa powder: ¼ cup delivers that signature chocolatey flavor.
- Peanut butter: ½ cup (creamy) adds a nutty taste and chewy consistency.
- Vanilla extract: 1 teaspoon enhances the overall flavor profile.
- Quick-cooking oats: 3 cups provide structure and heartiness.
These ingredients create a delightful balance that will have you coming back for seconds!
Optional Add-ins for Extra Delight
Willing to experiment? You can elevate your classic no-bake cookies by introducing a few optional add-ins:
- Chopped nuts: Walnuts or almonds can give a crunchy texture.
- Chocolate chips: A handful of semi-sweet or dark chocolate chips can make them even more decadent.
- Coconut flakes: Unsweetened coconut can add a tropical twist.
- Dried fruit: Raisins or cranberries introduce a chewiness that complements the cookie.
Feel free to get creative! Adding personal touches to your cookies can lead to unique variations that will impress friends and family alike. Looking for more tips? Check out Jessica Gavin's kitchen hacks for delicious ideas.
Preparing Classic No-Bake Cookies
Making classic no-bake cookies is not only straightforward but also incredibly rewarding. Follow these step-by-step instructions for a delightful treat that you can whip up in no time.
Gather Your Ingredients
Before diving into the mixing and stirring, it's essential to gather all your ingredients. You want to ensure nothing is left out to make those delicious cookies come together seamlessly. Here’s what you’ll need:
- ½ cup (115 grams) butter, sliced into pieces
- 2 cups (400 grams) granulated sugar
- ½ cup (120 ml) milk (whole milk works great)
- ¼ cup (20 grams) unsweetened cocoa powder
- ½ cup (125 grams) creamy peanut butter
- 1 teaspoon pure vanilla extract
- 3 cups (300 grams) quick-cooking oats (for that perfect texture)
It's a good idea to measure all your ingredients beforehand and set them up in the order they'll be used. This little tip can save you from an awkward scramble in the middle of cooking!
Create the Cookie Mixture
In a large saucepan, you'll start by combining the sliced butter, granulated sugar, milk, and cocoa powder over medium heat. As the butter melts, stir often to combine everything smoothly. This is where the magic begins! For extra guidance on melting and combining ingredients, check out this resource on saucepan basics.
Boil and Combine
Once your mixture is lovely and combined, it’s time to crank up the heat. Bring it to a rolling boil and let it simmer for precisely 60 seconds—set a timer to ensure you’re spot on! This step is crucial; it helps the sugar dissolve fully and ensures your cookies hold together nicely later on.
Stir in the Oats
Remove the saucepan from the heat and stir in the creamy peanut butter and pure vanilla extract until you get a smooth, velvety mixture. At this point, add your quick-cooking oats. Give everything a good mix until all the oats are fully coated with that rich chocolate-peanut-butter flavor. If you’re unsure about which oats to use, quick-cooking oats are ideal for the best texture.
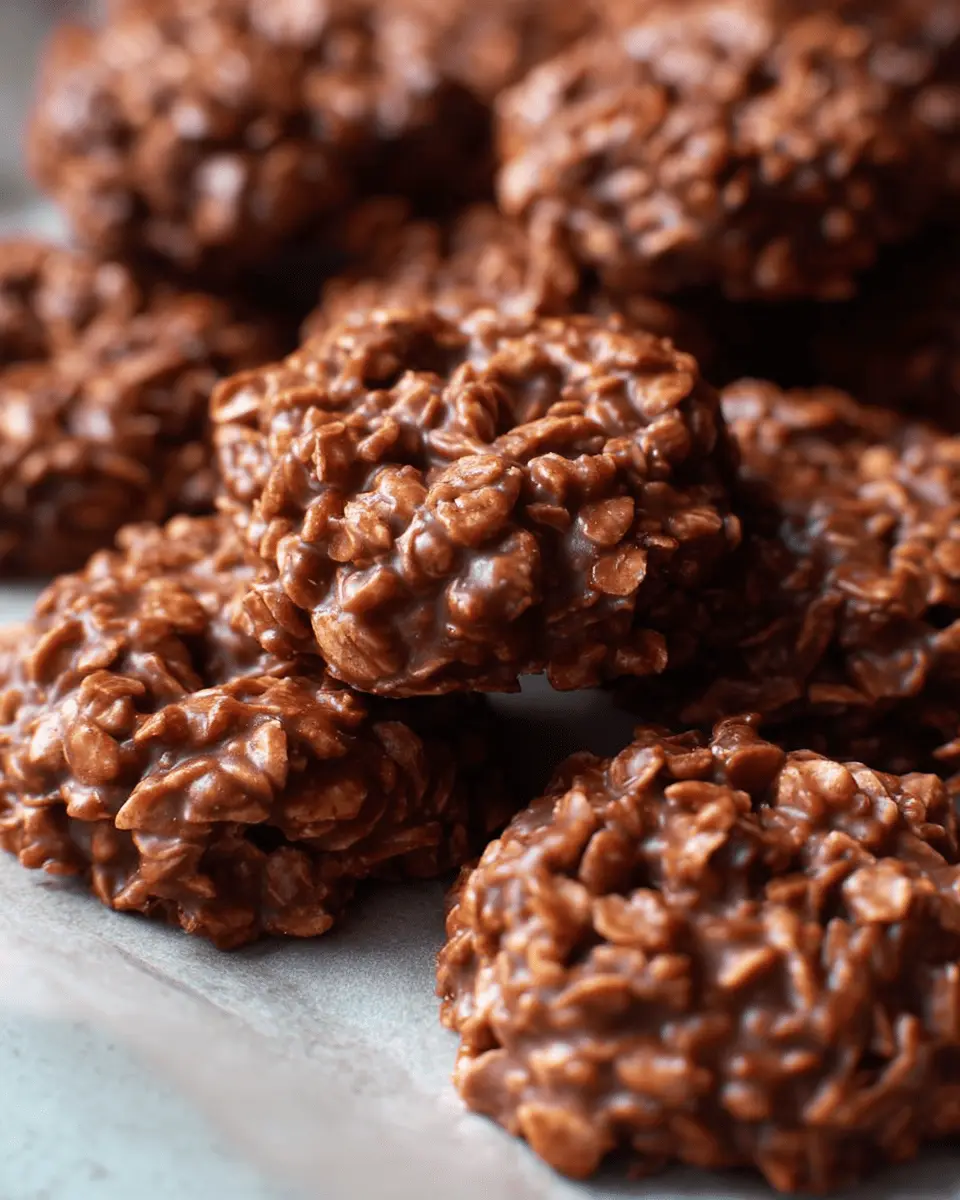
Form the Cookies
Now for the fun part! Using either a tablespoon or a cookie scoop (about 1.5 tablespoons works great), drop spoonfuls of the mixture onto your prepared baking sheets lined with parchment paper. You can space them out a bit, but remember they won’t spread much during cooling. Allow the cookies to cool for about 20-30 minutes, or until set.
And voila—your classic no-bake cookies are ready to be devoured! Enjoy them fresh or store them in an airtight container for later. Trust me, they won't last long!
For more great tips on easy desserts, you might enjoy exploring this guide on quick treats. Happy baking!
Variations on Classic No-Bake Cookies
When you love classic no-bake cookies but want to switch things up, consider these delicious variations that add a fun twist!
Nutty Chocolate No-Bake Cookies
Elevate your cookie game by incorporating a medley of nuts! Simply add chopped almonds, walnuts, or pecans to the mixture for a delightful crunch. The nutty flavor complements the chocolate beautifully, making these cookies irresistible. Plus, they're a great source of healthy fats!
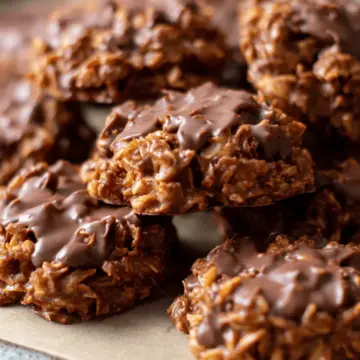
Coconut Chocolate No-Bake Cookies
For a tropical twist, include shredded coconut in your classic no-bake cookies recipe. Just fold in a cup of unsweetened coconut flakes before dropping spoonfuls onto the baking sheet. The coconut adds a chewy texture and pairs perfectly with the rich chocolate, giving you a vacation vibe with every bite.
Feel free to get creative! What variations will you try next? For more inspiration, check out this Coconut Cookie Comfort recipe for some delicious options!
Baking Tips and Notes for Classic No-Bake Cookies
How to Ensure Perfect Texture
For the best classic no-bake cookies, make sure to bring your mixture to a rolling boil for exactly 60 seconds. This step is crucial for achieving the right consistency. If the mixture doesn’t boil long enough, the cookies may end up too soft and won’t firm up properly. Conversely, boiling for too long can lead to a dry texture. Trust me, timing matters!
Common Mistakes to Avoid
- Skipping the Oats: Always use quick-cooking oats for a smoother texture. Old-fashioned oats can make the cookies chewy, which can change the overall mouthfeel.
- Immediate Cooling: Allow your cookies to sit on the baking sheets undisturbed until they cool completely. This helps them set properly.
- Rushing the Process: Give yourself the right prep time. Rushing can lead to ingredients not blending well, which may affect texture and taste.
For more tips on improving your baking skills, check out expert resources, like the King Arthur Baking Company for additional guidance!
Serving Suggestions for Classic No-Bake Cookies
Pairing Your Cookies with Beverages
When it comes to enjoying your classic no-bake cookies, the right beverage can elevate the experience. A tall glass of cold milk is a timeless choice, enhancing those rich chocolate and peanut butter flavors. Alternatively, a cup of hot cocoa adds a cozy touch during chilly evenings, while herbal teas like chamomile offer a delightful contrast. For a refreshing option, try pairing them with iced coffee or a fruit smoothie—both are fantastic thirst-quenchers that mesh beautifully with your sweet treat.
Creative Ways to Present Your Cookies
Presentation matters! Arrange your classic no-bake cookies on a stylish platter lined with colorful parchment paper to make an eye-catching display. Consider stacking them into a tower or creating a dessert bar with toppings like shredded coconut, chopped nuts, or mini marshmallows for guests to customize their own cookie. You could even gift them in a decorative tin or box, perfect for sharing with friends or coworkers. Not only do these ideas enhance the cookie experience, but they also make your gatherings feel extra special!
Time Details for Classic No-Bake Cookies
Understanding the time needed to prepare and enjoy these classic no-bake cookies will make your baking experience pleasant and straightforward. Here’s a breakdown:
Preparation Time
You'll need about 20 minutes to gather your ingredients, measure everything out, and get your workspace ready.
Cooking Time
The actual cooking takes just 5 minutes. That’s all it takes to create the base for these scrumptious treats!
Total Time
In just 45 minutes, including cooling time, you can whip up a batch of these delicious cookies. Serve them fresh or store them for later enjoyment!
If you're curious about some efficient time-saving tips or want to explore similar recipes, check out resources like Food Network’s quick dessert ideas for more inspiration!
Nutritional Information for Classic No-Bake Cookies
Calories per Cookie
Each of these delightful classic no-bake cookies contains approximately 110 calories. This makes them an indulgent treat that doesn’t completely derail your daily calorie goals, especially when shared with friends!
Nutritional Benefits
These cookies are packed with nutritious ingredients like oats and peanut butter, providing a good source of fiber and protein. Oats can help support heart health, while peanut butter offers healthy fats that keep you satisfied. For more insights on the health benefits of oats, check out Nutrition.gov. Enjoy guilt-free snacking with these treats!
FAQs about Classic No-Bake Cookies
Why are my cookies not setting?
If your classic no-bake cookies aren't setting, it may be due to a few common factors. The most crucial step is ensuring your mixture reaches a rolling boil for a full 60 seconds. This timeframe helps the sugar dissolve and creates the right texture. If the cookies are still too gooey after cooling, try letting them sit out a bit longer or placing them in the refrigerator to firm up.
Can I make these gluten-free?
Absolutely! You can easily make classic no-bake cookies gluten-free by using gluten-free oats. Just ensure the oats you choose are certified gluten-free, as regular oats can sometimes be cross-contaminated with gluten.
How do I store leftover cookies?
Store any leftover cookies in an airtight container at room temperature for up to one week. For longer storage, you can freeze them in a freezer-safe bag for up to three months. Just remember to thaw them at room temperature before indulging!
For more insights on no-bake desserts, check out The Spruce Eats for tips and tricks!
Conclusion on Classic No-Bake Cookies
There you have it—classic no-bake cookies that are not only simple to make but also incredibly delicious! These treats are perfect for any occasion, from casual get-togethers to a last-minute dessert craving. So gather your friends, enjoy the process, and indulge in the delightful taste of homemade cookies! For more cookies inspiration, check out the Cookie Association for creative ideas.
Classic No-Bake Cookies: The Easy Indulgence You'll Love
Equipment
- large saucepan
- cookie scoop
- baking sheets
- parchment paper
Ingredients
- ½ cup butter sliced into pieces
- 2 cups granulated sugar
- ½ cup milk preferably whole milk
- ¼ cup unsweetened cocoa powder
- ½ cup creamy peanut butter
- 1 teaspoon pure vanilla extract
- 3 cups quick-cooking oats
Instructions
- Before getting started, gather all ingredients and measure everything out. Line two large baking sheets with parchment paper and set aside.
- Combine the butter, sugar, milk, and unsweetened cocoa powder in a large saucepan and heat over medium heat, stirring often until the butter is melted and everything is well combined. Bring the mixture to a rolling boil and allow to boil for 60 seconds, stirring occasionally.
- Remove from heat, and stir in the peanut butter and vanilla extract until fully combined. Stir in the oats until all oats are coated with the mixture and everything is well combined.
- Drop spoonfuls of the mixture onto the prepared baking sheets. Allow to cool for 20 to 30 minutes, serve, and enjoy!
Leave a Reply